CASE STUDY

Painting a newly built MDF media wall

The short answer

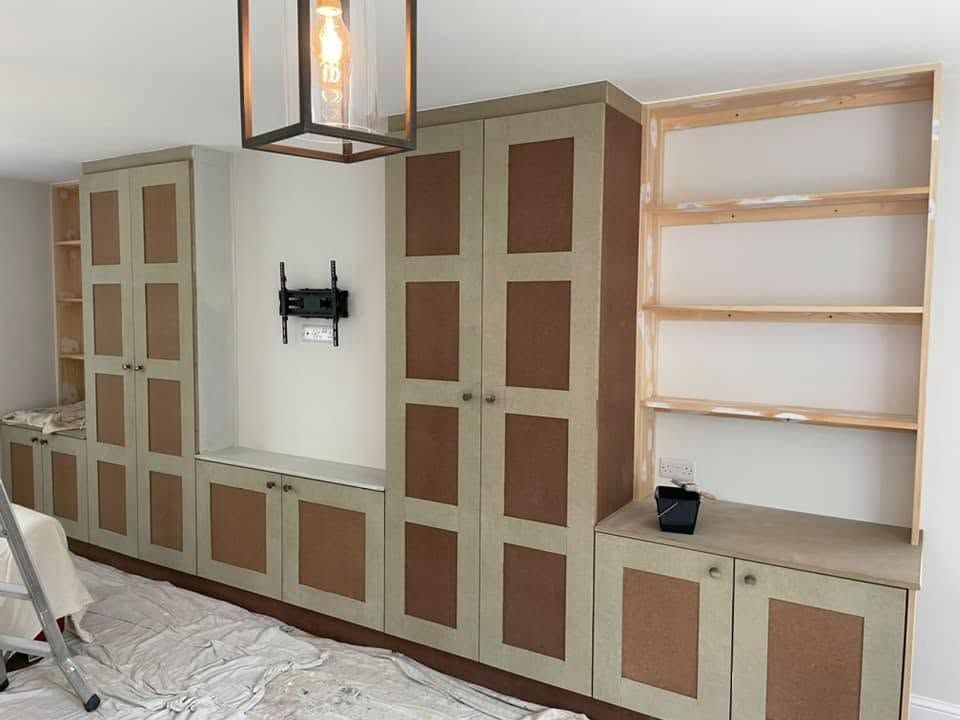
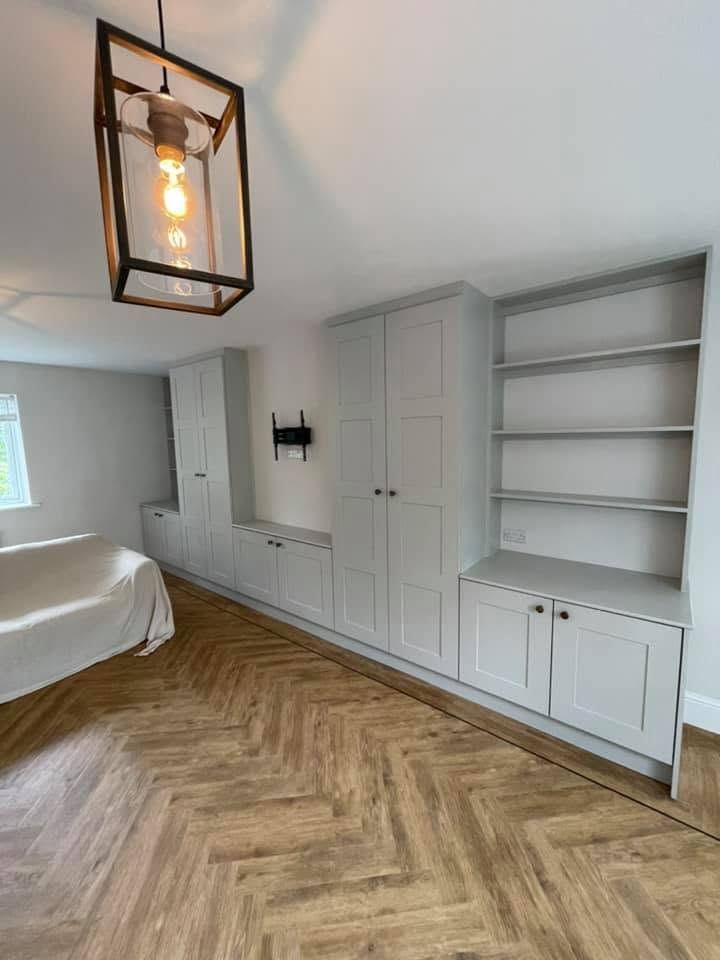
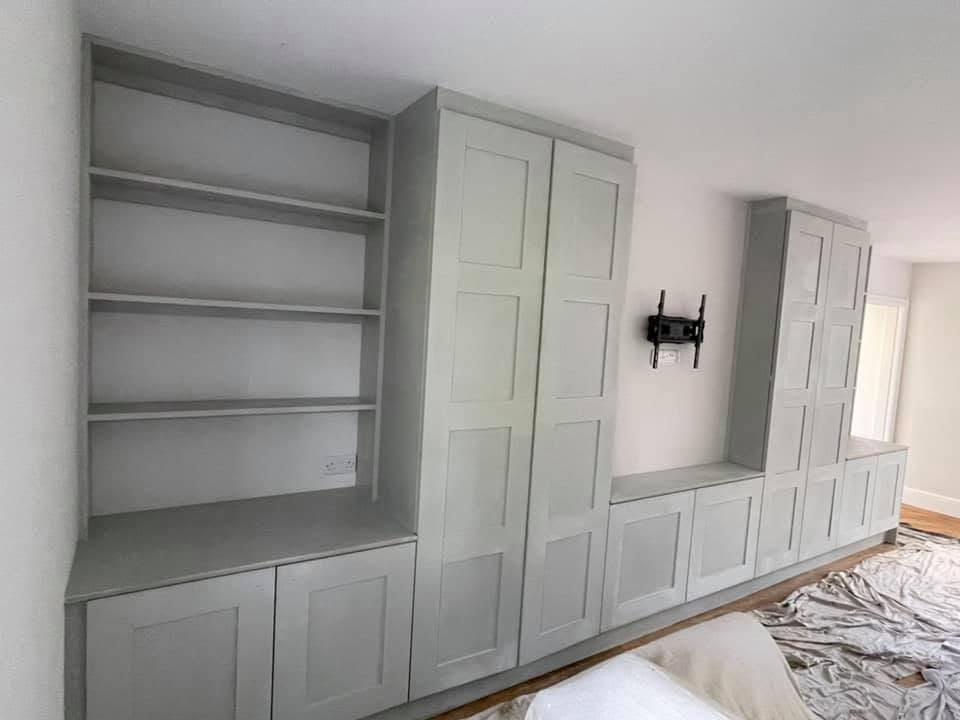
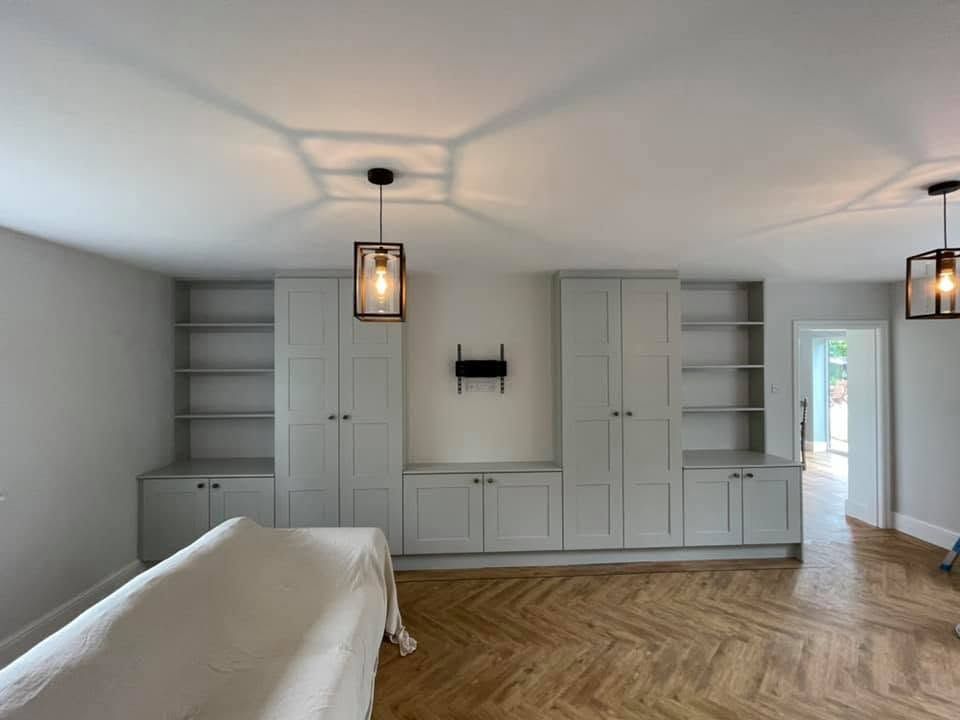
I painted a newly built, full-wall media wall in a home in Barlestone, which had been fitted by a joiner and left as bare MDF and pine. The unpainted joinery needed full preparation from scratch, so I filled, sanded, primed and painted every cupboard, shelf and plinth. The result is a smooth, seamless pale grey Zinsser All Cost finish that makes the whole wall look like one factory-finished piece.

before
AFTER
Location

Barlestone


Property

Private House


Service

Painting bespoke fitted furniture (media wall)

Level of work

Full redecoration

Duration

4 days

Products

Zinsser All Coat

What did the customer need?

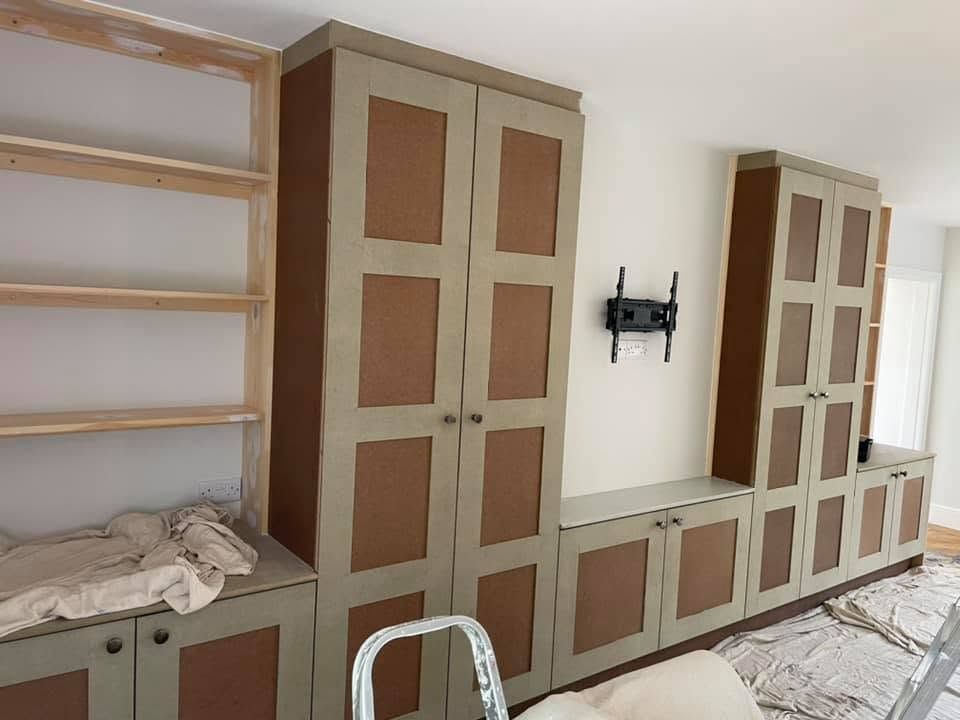
The customer needed their new media wall painted so it looked finished and built in. Their joiner, had fitted a full-wall unit running corner to corner in the living room. It included two tall Shaker-style cupboards, two open shelving bays with three shelves each, low cupboards and a central unit beneath the TV bracket. The customer wanted a calm pale grey that suited the room. Most of all, they wanted it to look like one seamless piece of furniture, not a row of separate units.

What condition was it in?

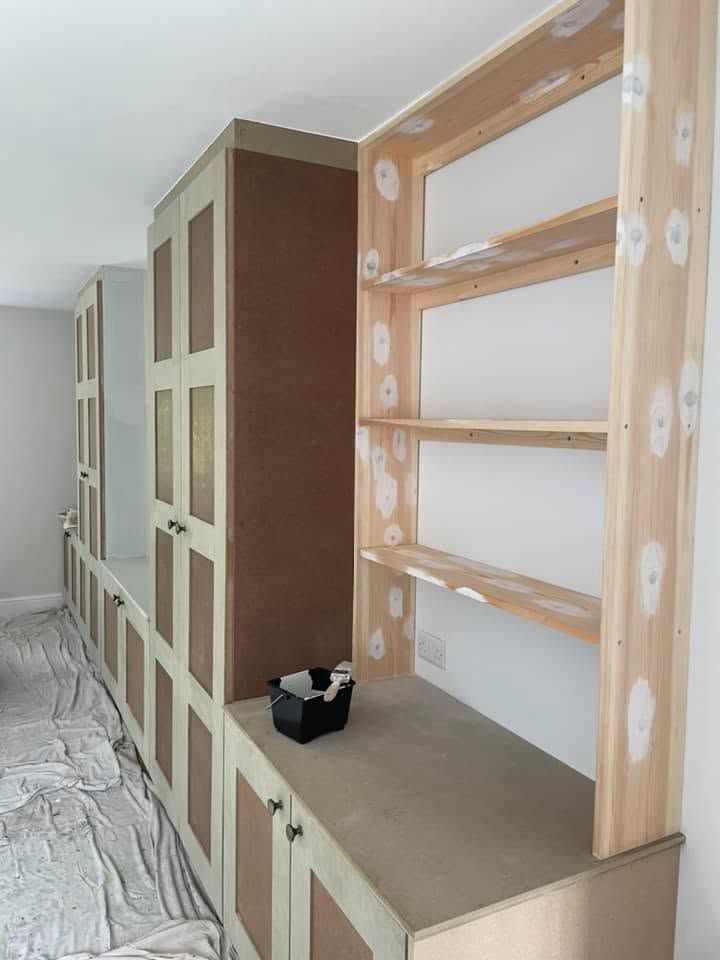
It was brand new but completely bare, with no primer or paint on any surface. The cupboards and doors were raw MDF (medium-density fibreboard, a smooth board made from compressed wood fibres). The shelving frames were bare pine. Every screw hole and joint was still visible, and there were small gaps where the units met each other and the walls. Bare MDF is very absorbent, especially on its cut edges, so paint applied straight onto it soaks in unevenly and raises a rough texture. Nothing was damaged, but nothing was ready for paint either.

What preparation was needed?

The media wall needed full preparation from bare board before any paint went on. This was a Full redecoration rather than a Refresh, because there was no existing finish to key and recoat, so every surface had to be built up from scratch.

1

Protected the floors and furniture with dust sheets, as the room was in use. And removed hardware from doors

2

Filled every screw hole and joint in the pine frames and MDF units.

3

Sanded the filler and all surfaces smooth, taking extra care over the MDF edges.

4

Primed all bare MDF and timber to seal it.

5

Applied topcoat

Which paints and materials were used?

I used primer to seal the bare MDF and pine, followed by topcoat. Priming matters more on MDF than almost any other surface. It seals the fibres so the topcoat sits on the surface instead of soaking in. For the filling I used filler, which sands back flush so repairs disappear under paint. The topcoat colour is a soft pale grey in Zinsser All Coat, chosen to keep a large piece of furniture feeling light in the room.

What was the result?

The media wall now reads as one smooth, continuous feature from corner to corner. The filled screw holes and joints have vanished completely, and the finish is even across the doors, shelves, worktops and plinth. The pale grey softens the scale of the tall cupboards and keeps the room bright. The open shelving bays and central TV unit now look properly built in. For the customer, the finished wall looks as though it arrived factory-sprayed, even though every coat was applied by hand on site.

Questions about this job

  • How long did the job take?

    The full exterior took 4 days from the first sand to the final coat. Most of that time goes into preparation and letting primer and paint dry properly between coats. Rushing drying times on MDF is the quickest way to spoil the finish.

  • Can you paint bare MDF furniture straight after a joiner fits it?

    Yes, and it's often the best time to do it, as the room is already disrupted. Bare MDF must be sealed with a suitable primer first, especially on the cut edges. Once sealed, it takes paint very well and gives a beautifully smooth finish.

  • Will the screw holes and joints show through the paint?

    Not if they're filled and sanded properly before priming. I fill every hole and joint, sand it flush, then prime over it so the repair can't be seen. Gaps between units and walls are sealed with flexible caulk so they don't crack as the timber moves.

Have a similar project

Free survey and a written, itemised quote.

Related links

More case studies

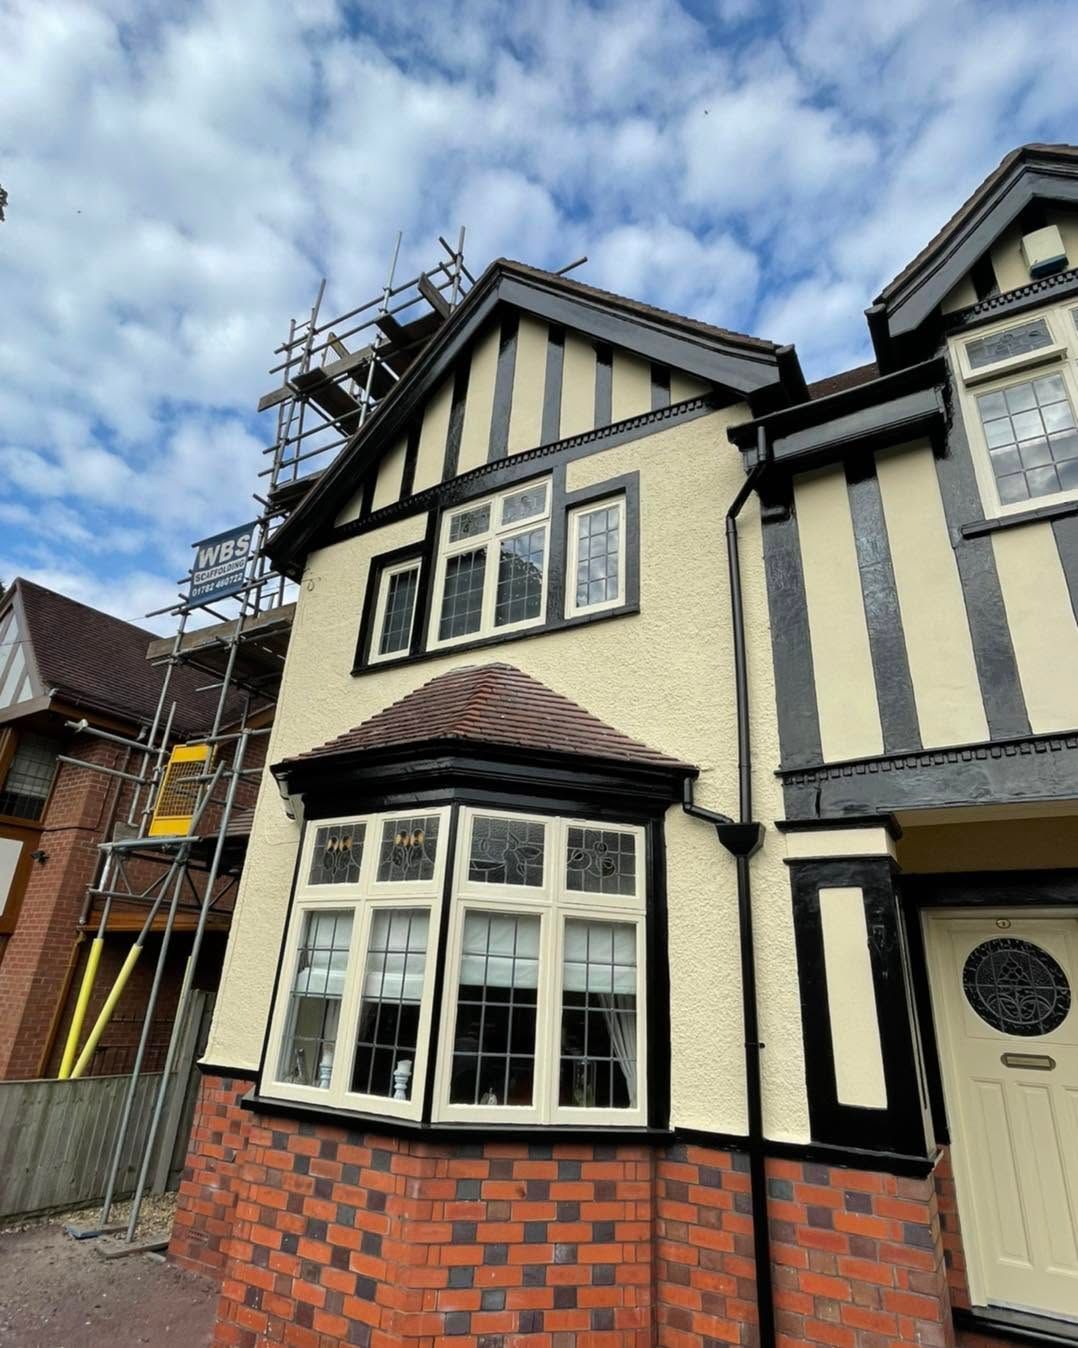
Tudor-style house with cream and black timbering, red brick base, and a bay window under a cloudy sky.
by Thompsons Painting & Decorating • 29 September 2026
See how I restored a 1930s mock Tudor home, from peeling black boards to a crisp black and cream finish. Before and after photos.
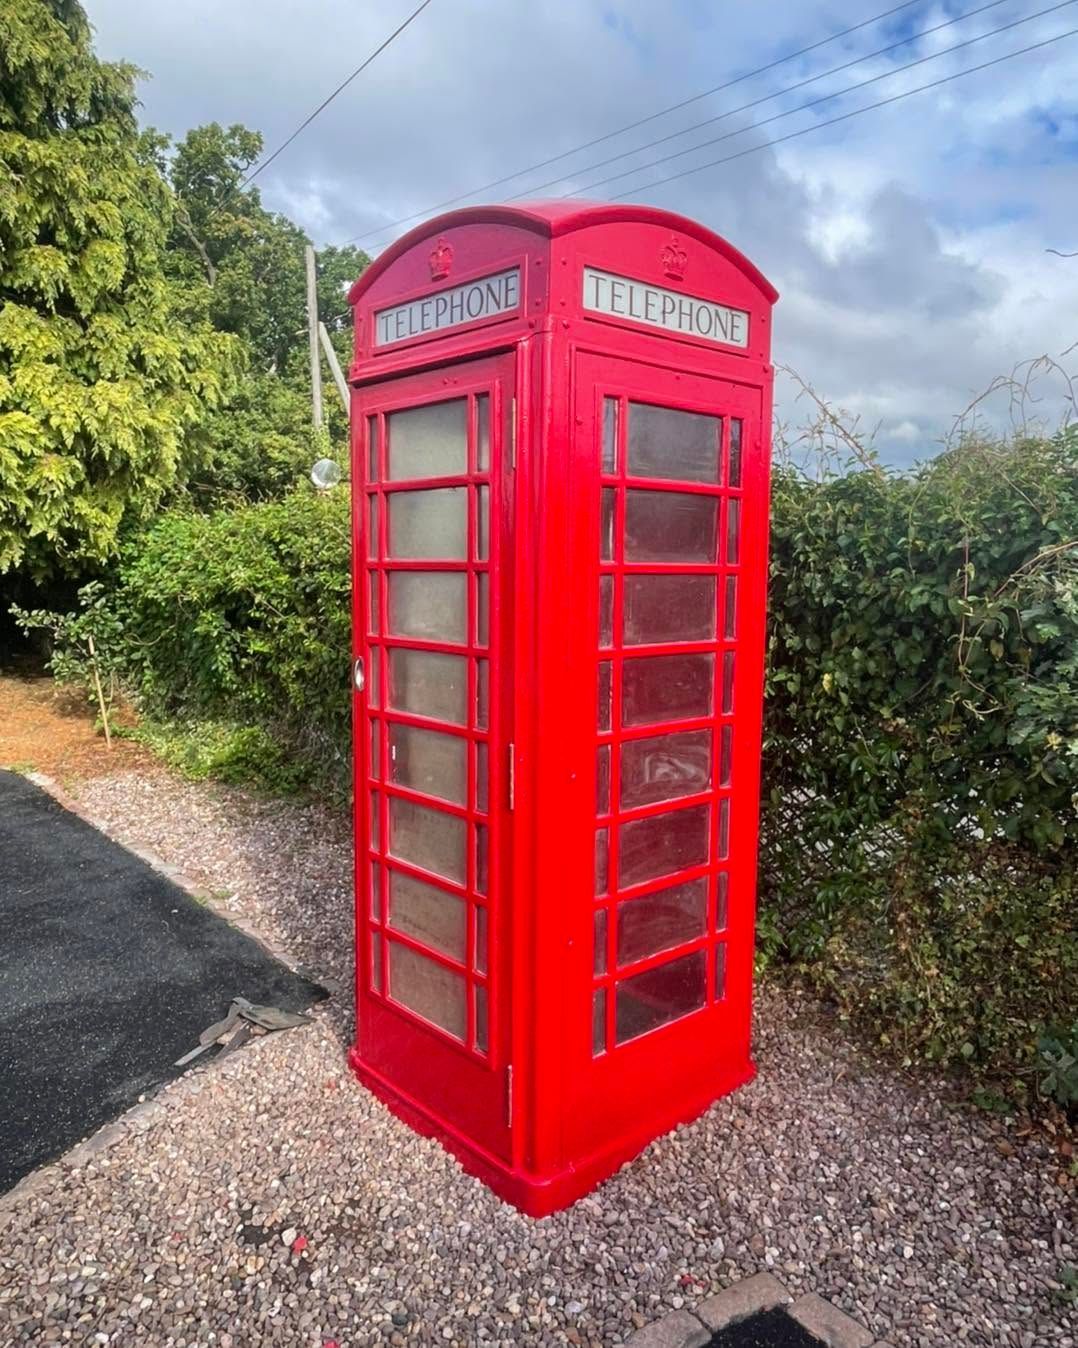
Bright red British-style telephone booth on gravel beside greenery under a cloudy sky
by Thompsons Painting & Decorating • 29 September 2026
See how I restored a 1930s K6 telephone box, sanded back, filled and glossed inside and out, with the frosting cleared from its panels.
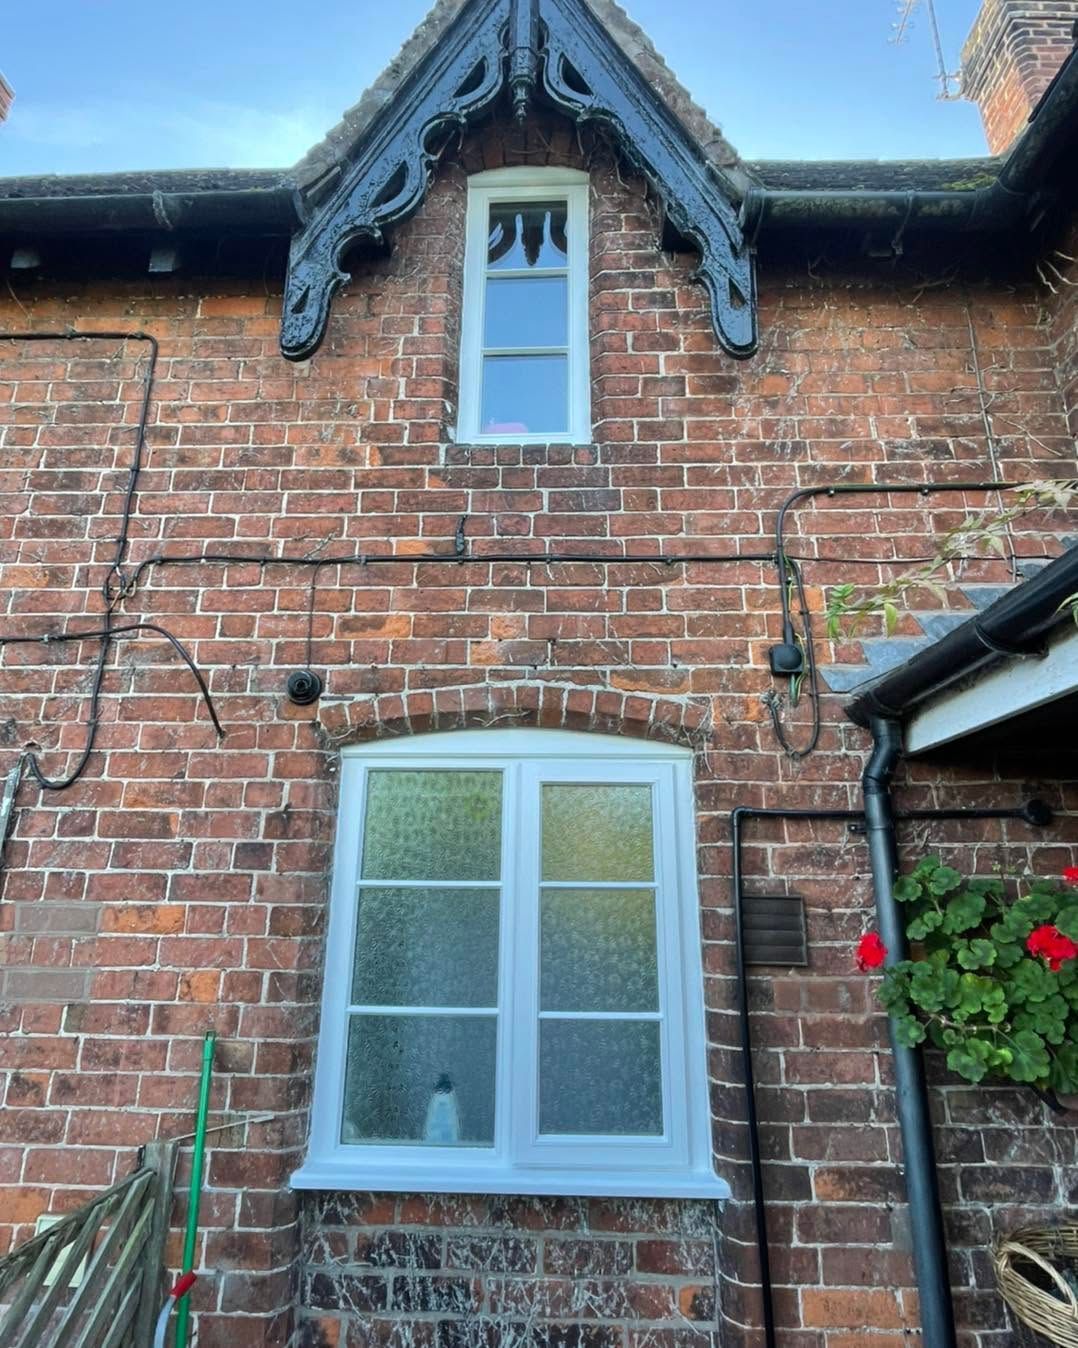
Brick house wall with white-framed windows and ornate dark trim under the roofline
by Thompsons Painting & Decorating • 29 September 2026
How I repainted and resealed every timber window on a Victorian cottage, and why I recommended replacing the fascias.
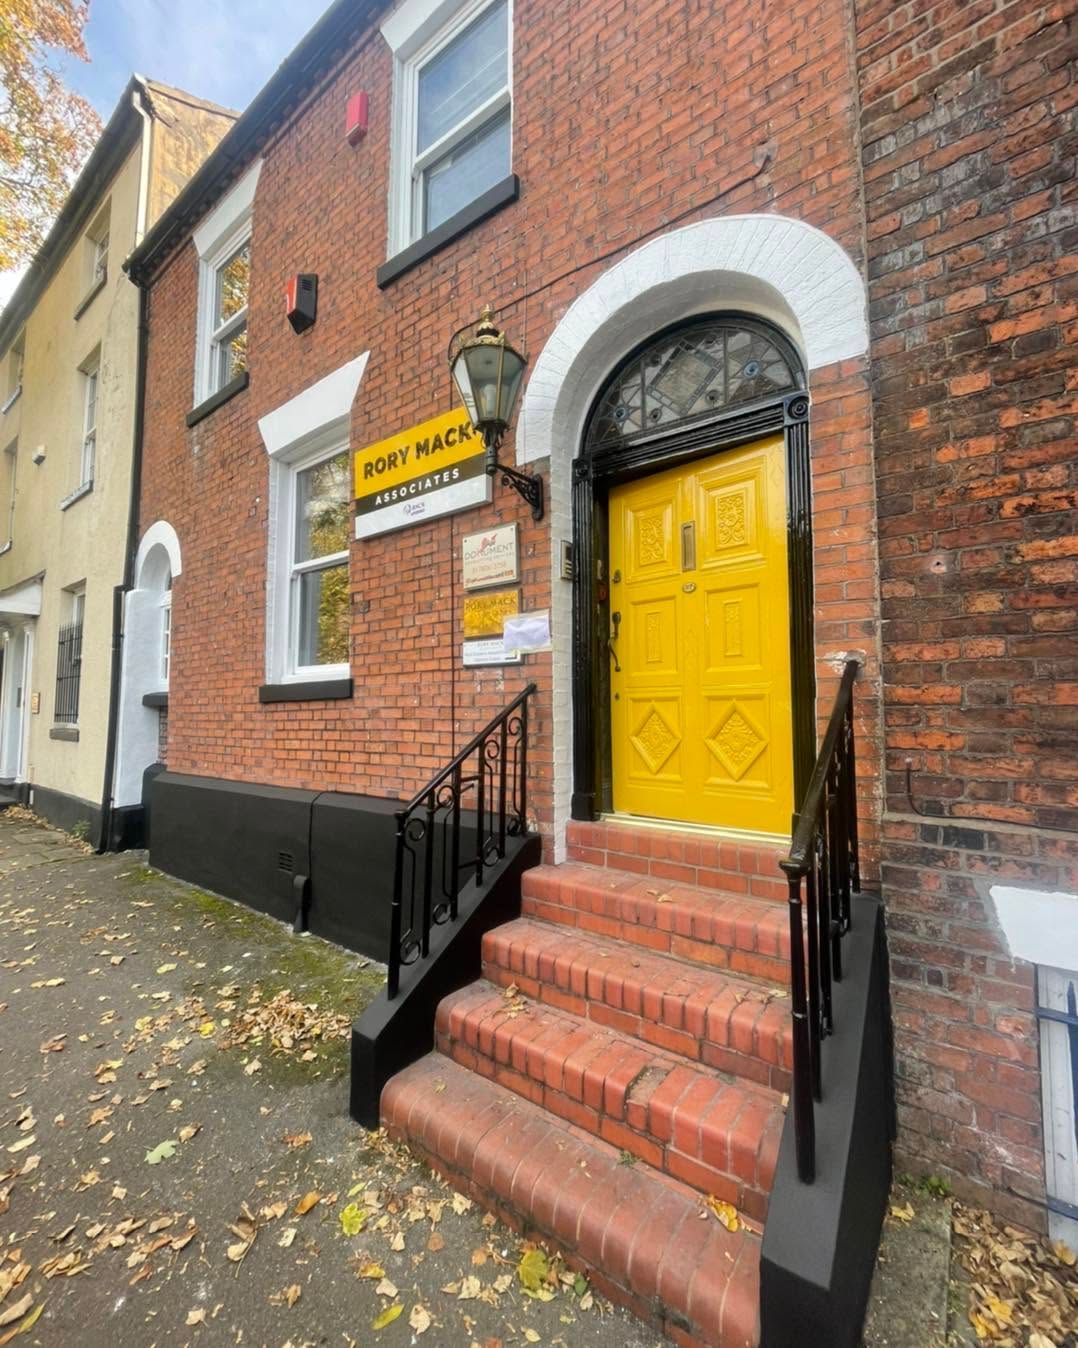
Brick building with bright yellow arched door, red steps, and a black railing on a wet street.
by Thompsons Painting & Decorating • 29 September 2026
I hand-stripped years of flaking paint from a carved Victorian door and brought it back to life. See the before and after.
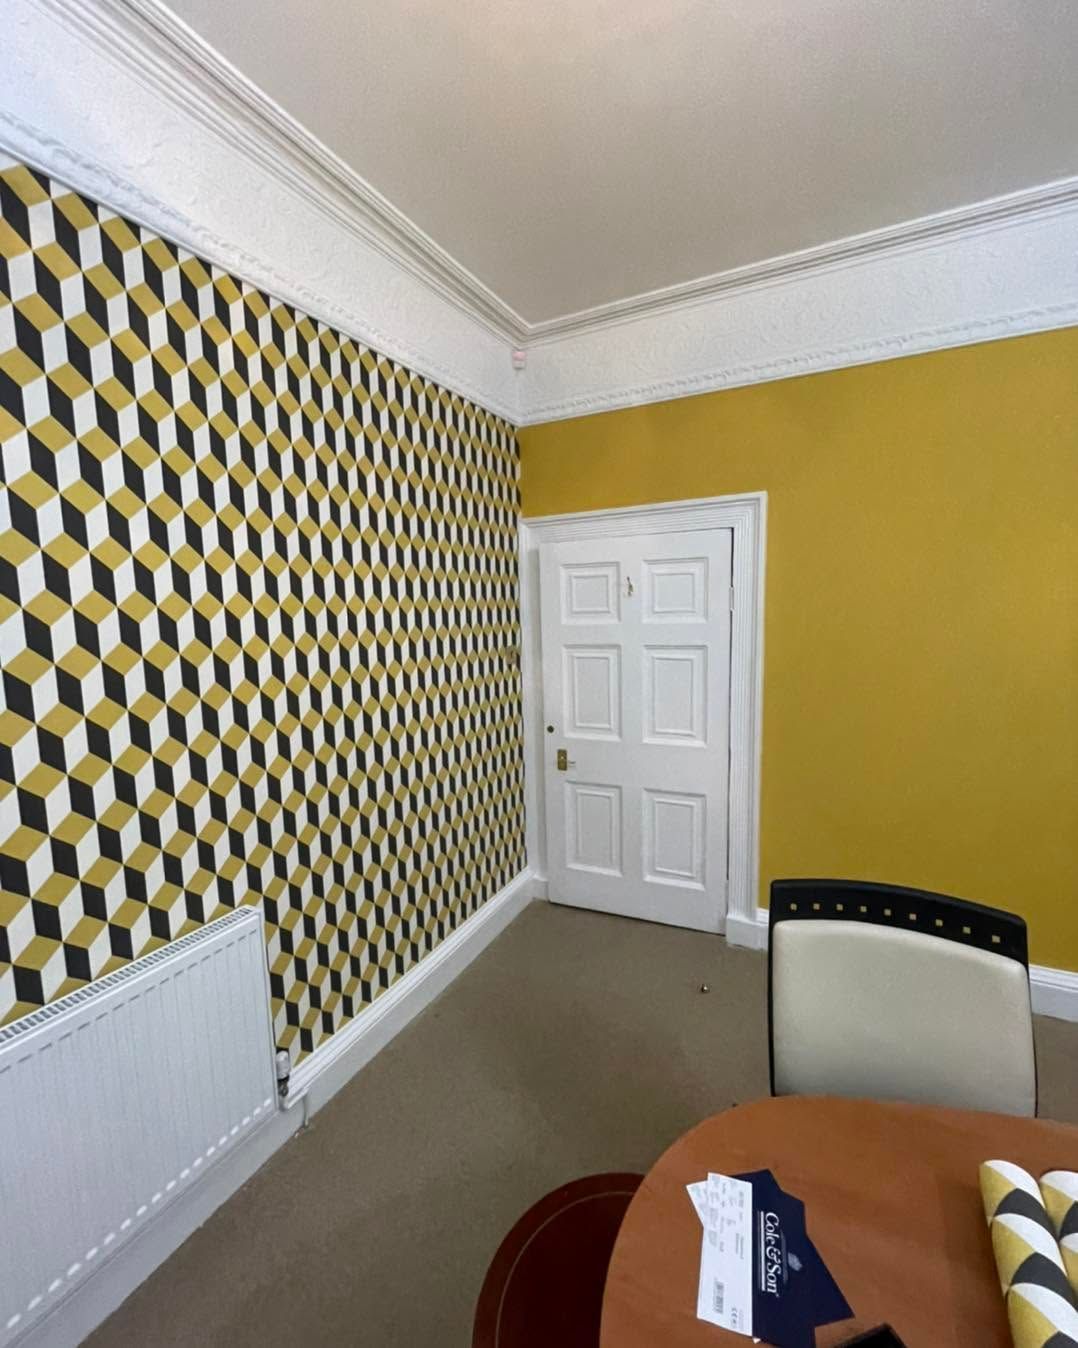
Small room with yellow walls, geometric wallpaper, white door, radiator, and a table in the foreground.
by Thompsons Painting & Decorating • 29 September 2026
See how I stripped three layers of wallpaper and redecorated a period boardroom with Cole & Son paper and Little Greene paint.